

How to Wind Perfect Coilgun Coils
 After the first layer, just keep the coil wet with super-glue the whole time.
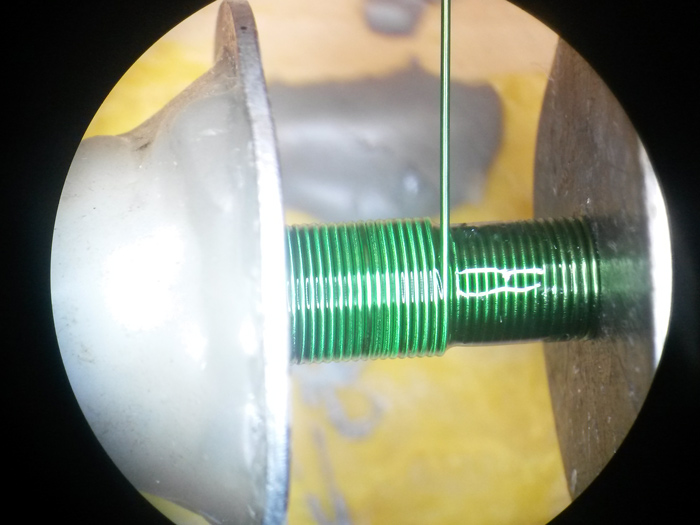
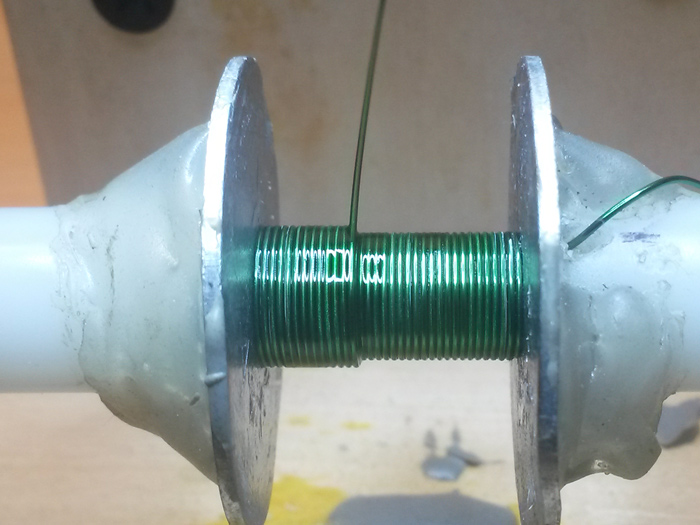
Keep an eye on the turn counter, and lay down as many windings as you need. In this case, I'm aiming for 114 turns.
 Almost done.
As you can see, the pattern is still perfect after 3 layers.
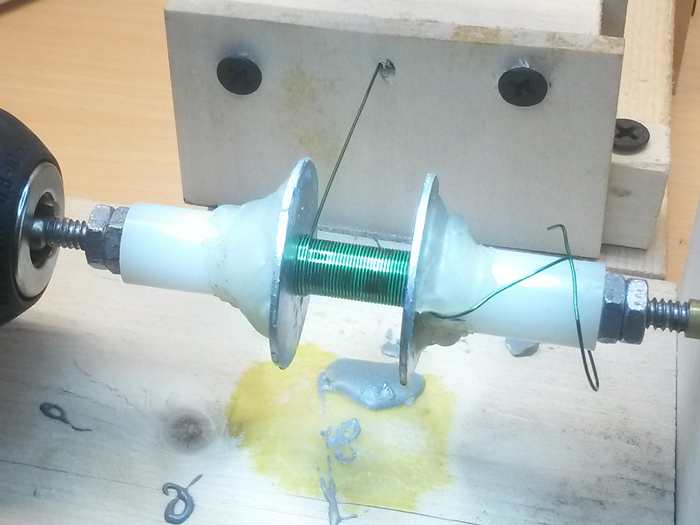
 Once you're done, apply a bit of extra glue to the point where the wire leaves the coil. Let the glue dry before continuing.
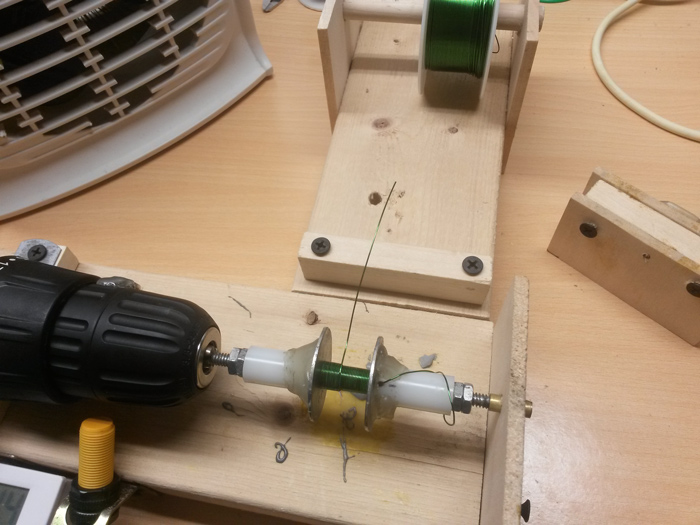 Now that the glue's dry, you can cut the wire and remove it from the tensioner. The glue holding the wire onto the coil is still fragile so be careful.
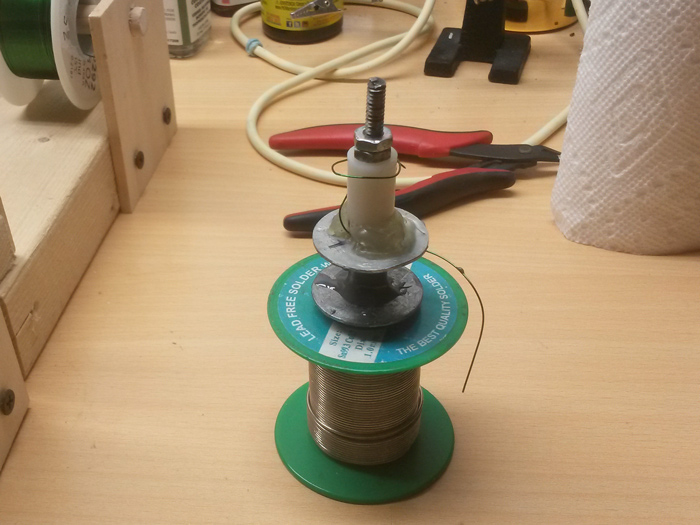
For larger coils, the super glue is enough to hold them together. Just throw on a couple of coats and you're done. Because this coil is only 3.5 layers we need to cover it with epoxy to add some strength.
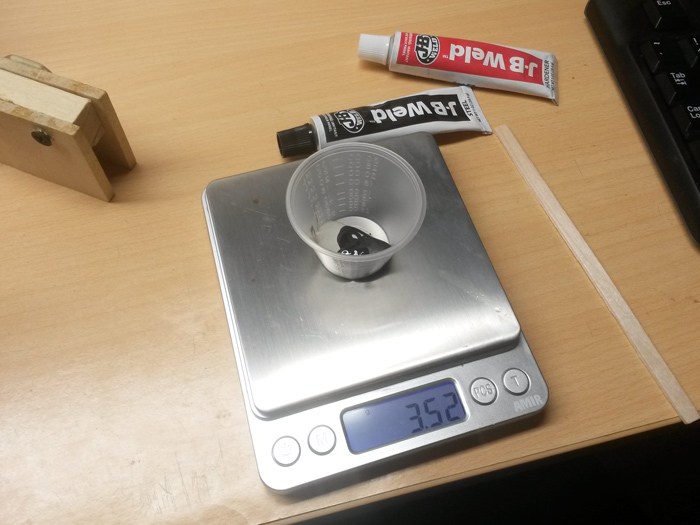 I'm going to use JB weld.
Note: This stuff is full of iron. It will actually improve the coilgun's performance, but if you're making an inductor it will effect your calculations.
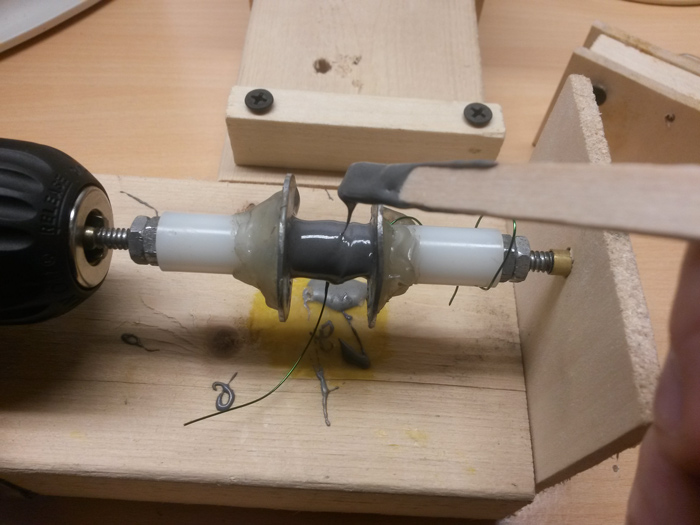 Glob some epoxy onto the coil while it's rotating (slowly). Don't worry about making it even, just get it on there.
 As the spool rotates, surface tension will pull the epoxy into a nice smooth shape.
Don't spin it too fast, or it will flare out on the ends excessively.
You can stop the spool and poke it here and there to even out the epoxy.
Rig up the motor to spin slowly without using the foot peddle. I do this by connecting the motor directly to my bench supply. It only takes about 1v to keep the motor spinning.
 Now usually, I just leave the spool spinning all night. But this time I decided to take the spool off after a couple of hours.
This was a mistake. The epoxy sagged overnight, making the coating a little misshapen.
..Oh well, live and learn.